
On this page
- Key Takeaways
- What Installing a Bathroom Faucet Actually Involves
- What Tools and Materials Do You Need?
- How Do You Isolate the Water and Remove the Old Faucet?
- How Do You Fit the New Faucet on the Basin?
- How Do You Connect the Supplies and Seal the Joints?
- How Do You Test for Leaks?
- What If Something Goes Wrong?
- Frequently Asked Questions
- Conclusion
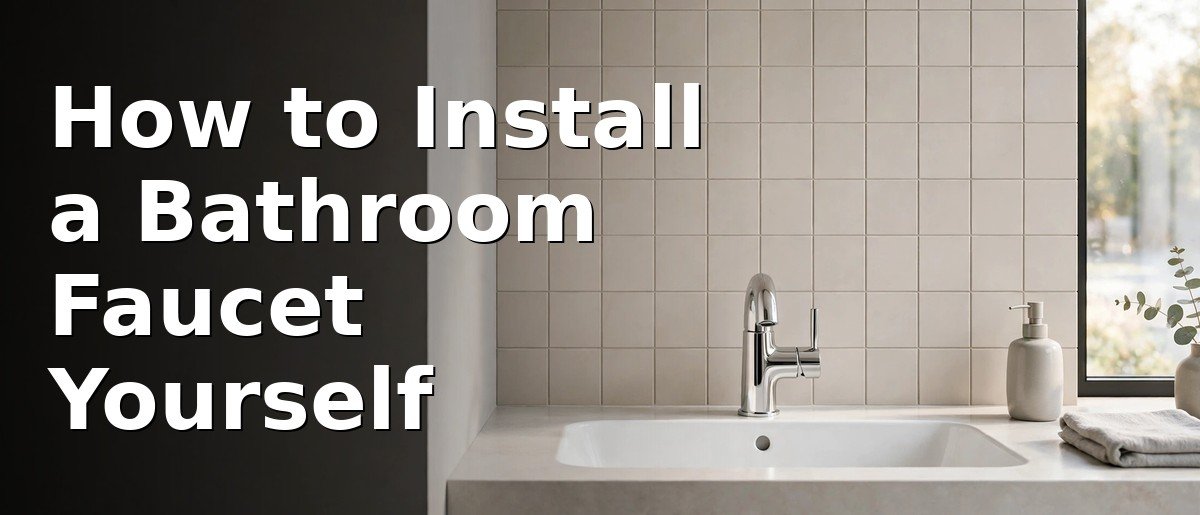
You can replace a bathroom faucet yourself in 60 to 90 minutes when the supply valves work: isolate the water, disconnect the old tap, mount the new mixer or pillar taps, connect the flexible hoses to the angle valves, and test joints for leaks before you tidy up.
This My Homesblogs guide covers the full basin swap: tools, removal, fitting, and the leak test, with the snags that catch beginners.
Key Takeaways
- Isolate at the angle valves, then open the tap to drain the lines.
- Match the faucet to your basin: single-hole mixers and three-hole pillar taps are not interchangeable.
- Hand-tighten hoses first, then nip up with a spanner — never force them.
- Keep braided hoses straight, and fit the filter washer at the angle valve.
- Test every joint under pressure before tidying up.
What Installing a Bathroom Faucet Actually Involves
A faucet swap is a like-for-like replacement: you disconnect one tap from the existing supplies and connect another. Most South Asian basins take one of two styles: a single-lever basin mixer — one body, one spout, two flexible hoses, one central tap hole — or pillar taps, two separate hot and cold taps needing two or three holes. Measure hole spacing and diameter before you buy: a mixer will not cover three holes, and pillar taps will not fit a single hole. Indian fancy taps fall under BIS standard IS 8931 for copper-alloy taps, so established brands such as Jaquar and Hindware sell to consistent connection sizes.
What Tools and Materials Do You Need?
Gather before you isolate the water: adjustable spanner, basin wrench, screwdriver, pliers, bucket, old towels, PTFE tape, and a torch.
Check the box: tap body, mounting stud and washers, two braided hoses, and the pop-up waste linkage if included. The measuring habit is one that homesblogs readers will recognise: measure the hole spacing before you buy, not after the old tap is already off.
How Do You Isolate the Water and Remove the Old Faucet?
Find the two angle valves under the basin, hot and cold, and turn both clockwise until they stop. Open the old tap to release pressure and drain the lines into the bucket, with towels underneath. Disconnect the hoses with the adjustable spanner, holding each valve body steady so you do not twist the wall pipe. Undo the mounting nut with the basin wrench, working patiently: a seized nut that suddenly gives way can spin the tap and chip the basin edge. Lift the old tap out from above and clean old sealant and scale from the basin and tap hole.
How Do You Fit the New Faucet on the Basin?
Do the above-basin preparation first, while you can reach everything. Screw the mounting stud into the mixer base, then hand-thread both braided hoses into the hot and cold inlets. Jaquar manuals stress keeping braided hoses straight, with no twist or sharp bend: a kinked hose restricts flow and wears through. Hand-tighten only; the hose-end rubber seals do the sealing, and overtightening crushes them.
Drop the tap through the basin hole with its base washer seated flat, spout centred over the bowl. From underneath, slide on the rubber washer, metal washer, then the mounting nut, and tighten with the basin wrench while a helper holds the tap straight. Tighten only until the tap cannot rock: overtightening can crack ceramic, and a rocking tap needs a quarter-turn more, not force. Connect a pop-up waste lift rod now, before the hoses crowd the space.
How Do You Connect the Supplies and Seal the Joints?
Connect hot hose to hot valve, cold hose to cold valve. Facing the basin, hot is left and cold is right, the standard manufacturer convention. Fit the filter washer Jaquar manuals specify at each angle-valve connection: it traps grit before it can damage the mixer’s ceramic cartridge.
Where a threaded joint has no rubber seal, seal it with PTFE tape. Trade guides agree on the method: wrap clockwise, in the tightening direction, with 3 to 5 smooth overlapping turns, starting from the second thread so no loose end shreds into the waterway. Never tape hose ends that already carry a rubber washer; tape there stops the washer seating and causes the leak you are trying to avoid.
How Do You Test for Leaks?
Open both angle valves slowly, a quarter-turn at a time, watching every joint: both hose ends, both valves, and the tap base. Run the tap for a minute, then close it and check each joint with a dry finger and tissue: a slow weep shows as damp, not dripping. Check once more after 10 minutes under pressure, then again next morning: a joint that seals cold can weep once the hot side warms up.
Jaquar manuals rate basin mixers at 1 to 3 bar pressure and 5 to 65 degrees Celsius, covering normal overhead-tank and municipal supplies in South Asian homes. If pressure is far above that, or flow is a weak trickle from a shared tank, the tap is not the problem: both need a plumber, not a new tap.
What If Something Goes Wrong?
A drip at a hose connection usually means a missing, twisted, or crushed washer: isolate, undo, inspect, and refit hand-tight plus a small nip. A rocking tap needs the mounting nut tightened in small steps, checking alignment each time. Hot and cold reversed means the hoses are crossed at the valves: swap them and retest. Weak, spluttering flow is often a grit-clogged aerator or filter washer: unscrew the aerator, rinse it, and refit.
Stop and call a plumber if the angle valves will not shut off, a supply pipe is corroded or weeping, the basin is cracked around the tap hole, or the fitting is a wall-mounted concealed mixer.
| Check at a glance | What to look for | Source |
|---|---|---|
| Basin tap hole (central-hole mixer) | 34 mm diameter hole | Jaquar installation manual |
| Working pressure | 1 to 3 bar | Jaquar installation manual |
| Working temperature | 5 to 65 degrees Celsius | Jaquar installation manual |
| PTFE tape on threaded joints | 3 to 5 wraps, clockwise | Trade PTFE guides |
| Aerator flow after fitting | Around 3 litres per minute, down from 10 to 12 | Times of India, October 2026 |
| Filter washer | Fit at each angle-valve connection | Jaquar installation manual |
In rented homes, keep the old tap in a labelled bag and refit it when you leave if the landlord requires it. On very old basins, penetrating oil and patience beat a cracked basin when the nut will not move. On a wall-hung basin, connect the hoses before lifting the tap into place; room underneath is tight. Vessel basins need a taller mixer so the spout clears the rim. If the same renovation also includes an arched mirror frame above the basin, an Arch Calculator can work out the arch’s radius from its width and height before you centre the new tap.
Frequently Asked Questions
Can I install a bathroom faucet myself without a plumber?
Yes, for a like-for-like swap where the angle valves shut off cleanly and the basin holes match. Corroded pipes, valves that will not close, or concealed fittings mean calling a plumber.
Do I need to turn off the main water supply?
No, if the two angle valves under the basin work. Turn both off, then open the tap to confirm the water has stopped first.
How do I know if a mixer will fit my basin?
Count and measure the holes. A single-lever mixer needs one central hole, typically 34 mm across; pillar taps need two or three holes at matching spacing.
Why is my new faucet leaking at the base?
Usually the base washer is missing or twisted, or the mounting nut is loose. Isolate the water, check the washer sits flat, and tighten the nut in small steps.
Hot and cold are reversed on my new tap. How do I fix it?
The hoses are crossed at the angle valves. Isolate both valves, swap them so hot feeds the left and cold the right, then retest.
How long does a faucet swap take?
About 60 to 90 minutes including the leak test. Seized nuts, a pop-up waste linkage, or a cramped wall-hung basin can add half an hour.
Conclusion
A careful swap — water isolated, old tap out, new tap mounted square, hoses hot-left and cold-right with filter washers fitted, every joint tested — is all it takes, and that is exactly how to install a bathroom faucet yourself without turning a simple upgrade into a call-out.

Leave a Reply