
On this page
- Key Takeaways
- What Installing a Towel Bar on Tile Actually Involves
- Where Should You Position a Towel Bar on a Tiled Wall?
- What Tools and Anchors Do You Need for Tile Walls?
- How Do You Drill Through Tile Without Cracking It?
- How Do You Mount and Level the Brackets?
- What If Something Goes Wrong?
- Tile and Wall Combinations at a Glance
- Edge Cases: Rented Homes, Porcelain, Glass and Heated Rails
- Frequently Asked Questions
- Conclusion
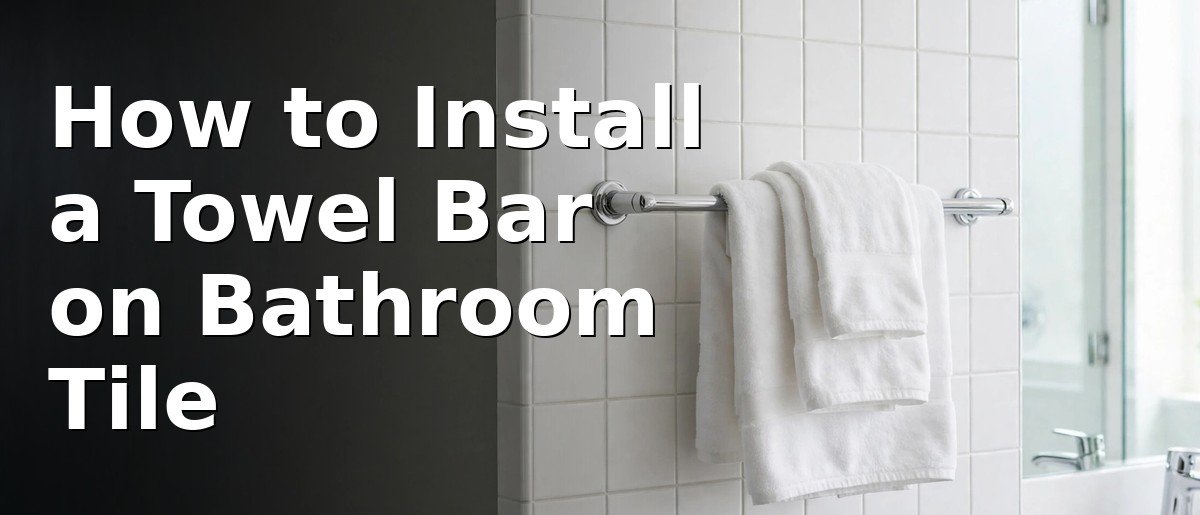
You can mount a towel bar on a tiled bathroom wall without cracking the tile: mark bracket positions in the centre of full tiles, drill slowly with the right bit and water cooling, seat anchors behind the tile, then level the brackets before fitting the bar.
This My Homesblogs guide covers positioning, tile-safe drilling, anchors and levelling.
Key Takeaways
- Drill the centre of a full tile, never near an edge or grout line.
- Match the bit: carbide spear-point for ceramic, diamond for porcelain.
- Rotary mode only, low speed, water cooling — never hammer action.
- Seat every anchor behind the tile, in the wall itself.
- Check for hidden pipes and cables before drilling.
What Installing a Towel Bar on Tile Actually Involves
A towel bar is two wall brackets joined by a bar, usually 450 mm or 600 mm long, fixed with screws into plugs or anchors. On a tiled wall the job has two stages: cut clean holes through a hard, brittle surface, then fix into the brick, plaster, concrete, or board behind it. The tile itself never holds the bar; it is only the surface the screws pass through.
Where Should You Position a Towel Bar on a Tiled Wall?
A good working height is 1050 to 1200 mm above the floor, measured to the bracket centres, leaving a full-size bath towel clear of the floor. Above a vanity unit, allow 350 to 400 mm above the countertop; for children, drop the bar to around 900 mm.
Centre every bracket hole on a full tile, at least 25 mm from edges and grout lines, where cracks start. If a bracket position lands on a grout line, shift the bar sideways a few centimetres. Level the template and mark both hole centres. Measure twice, drill once — the rule homesblogs readers swear by when a hole cannot be undone. If the bar will sit under an arched mirror or inside a curved alcove, an Arch Calculator can work out the arch’s radius from its width and height before you mark the bracket positions.
Check for hidden services first: pipes and cables usually run above taps and near switches, so avoid drilling there, and sweep a pipe and cable detector over the marked area.
What Tools and Anchors Do You Need for Tile Walls?
You need a variable-speed drill (rotary-only, hammer off), tile bits, a masonry bit one size up, masking tape, pencil, spirit level, tape measure, plugs and screws, safety glasses, and a spray bottle.
Bit choice matters most. Ceramic wall tiles are soft enough for a carbide spear-point bit. Porcelain and vitrified tiles are different: under BIS standard IS 15622, porcelain is classed with water absorption of 0.5% or less, making it far denser and harder, and only a diamond bit grinds through it — carbide will skate and blunt within seconds. Glazed vitrified and porcelain tiles from Morbi and brands such as Kajaria, Somany and Johnson dominate South Asian bathrooms, and Morbi dispatch data from 2026 puts 600×1200 mm as the standard size for modern Indian apartments. When in doubt, buy the diamond bit; it drills ceramic cleanly too.
Anchors follow the wall behind the tile: a nylon plug for solid brick or concrete, a toggle bolt for a hollow board wall. A 6 mm plug suits most bars; use 8 mm for heavy brass.
How Do You Drill Through Tile Without Cracking It?
Cover each mark with two strips of masking tape and re-mark the centre; the tape stops the bit wandering and reduces chipping. Set the drill to rotary mode, hammer firmly off, and keep the speed low — EngineerFix’s tile guides put porcelain drilling at roughly 400 to 600 RPM.
Start the bit at about 45 degrees to bite a small groove in the glaze, then bring it upright to 90 degrees once the groove holds. Press lightly; leaning on the drill is what cracks tiles. Keep the hole wet throughout — spray water at the contact point, or pause every 15 seconds to dip the bit in cold water. Once through the tile, swap to the masonry bit and drill the wall behind to the plug’s depth (35 to 40 mm). If the drill sinks with no resistance, you have hit a hollow spot: switch that bracket to a toggle bolt. If you meet metal, stop at once — that hole should be abandoned.
How Do You Mount and Level the Brackets?
Push each plug fully through the tile into the wall hole — never half in the tile. EngineerFix’s anchor guidance stresses this: the anchor must be seated flush with the wall material behind the tile, because if it expands against the tile’s edge, the pressure can crack the tile. Tap the plug home and drive the screw until snug, not crushed — over-tightening is a quiet tile-killer.
Fit the first bracket, then level across to the second bracket position before drilling it. Once both brackets are fixed, slide the bar into place, tighten the set screws with the Allen key, and test with a firm downward pull. A flexing bar needs a deeper plug or larger anchor, not a tighter screw.
What If Something Goes Wrong?
A hairline crack usually means the bit was too fast, the hammer was on, or the hole sat too close to an edge. Stop at once; a cracked tile in a shower zone should be replaced, since water will find the crack. A spinning anchor has nothing to grip — remove it, step up to a toggle bolt, or move the bracket to a solid spot. A bracket that tilts after a week means the plug sits in crumbling plaster; drill deeper into solid material and refit. If the bar pulls out with a chunk of tile attached, the anchor was expanding against the tile itself.
Tile and Wall Combinations at a Glance
| Tile / wall | Tile bit | Fixing | Hole guide | Source |
|---|---|---|---|---|
| Ceramic on brick and plaster | Carbide spear-point | 6 mm nylon plug | 6 mm, 40 mm deep | EngineerFix |
| Porcelain on brick and plaster | Diamond, water-cooled | 6 mm nylon plug | 6 mm, 40 mm deep | EngineerFix |
| Any tile on concrete | Tile bit | 6 mm nylon plug | 6 mm, 40 mm deep | Family Handyman |
| Any tile on board wall | Tile bit | Toggle bolt | To suit toggle | EngineerFix |
Edge Cases: Rented Homes, Porcelain, Glass and Heated Rails
In a rented flat, ask the landlord before drilling, and photograph the original fittings so holes can be filled at move-out. Porcelain deserves respect: four bracket holes can take 20 to 30 minutes of slow, wet work. Glass tiles need the same diamond approach with lighter pressure. If the wall carries underfloor heating pipes, or the bar is a heated towel rail needing wiring, this stops being a drilling job: call a professional first, since drilling blind near heating pipes risks a leak inside the wall.
Frequently Asked Questions
Can I install a towel bar on tile without drilling?
Yes, with a heavy-duty adhesive bar, but it holds less weight and can fail in steam and heat. A drilled and plugged bar is the reliable choice.
Should I drill into the grout line instead of the tile?
No. Grout is weaker than tile and crumbles under a plug. Drill a full tile’s centre, at least 25 mm from any edge.
What if there is no stud behind my tiled wall?
South Asian bathroom walls are usually brick, plaster or concrete, not timber stud walls, so a nylon plug is the normal fixing. On a hollow board wall, use a toggle bolt.
Do I need a diamond bit for ceramic tile?
No. A carbide spear-point bit handles ceramic well and costs less. Diamond is necessary for porcelain, vitrified, glass and stone tiles.
How much weight can a towel bar on tile hold?
A pair of 6 mm plugs in solid brick or concrete holds a bar plus several wet towels. The weak point is rarely the plug — it is a cracked tile or a plug in crumbling plaster.
Conclusion
Measure the height, centre every hole on a full tile, drill slowly with the right bit and plenty of water, and seat each anchor in the wall behind the tile. That is how to install a towel bar on bathroom tile without turning a simple upgrade into a cracked-tile repair.


Leave a Reply